BLOG 236: YOU CAN DO FACIAL ACUPRESSURE IN 1 MINUTE, HERE’S HOW!
Oct 10, 2023
Acupressure is a core part of the Danielle Collins Face Yoga Method, so you’ll often see me incorporating it into my YouTube videos and face yoga routines.
If you’ve been practising face yoga for a while, you’ll already know a bit about acupressure. But for those who are newer here, I just want to quickly explain what acupressure is and why we use it in face yoga.
So, acupressure is a form of massage, and it is inspired by acupuncture, which comes from Traditional Chinese Medicine. Both acupressure and acupuncture use specific points on your body to stimulate the flow of Qi or life energy (in yoga, we would call this prana).
The difference is that acupuncture uses long needles, while in acupressure we just use our hands, or sometimes a gua sha tool.
Fortunately, this means that you can easily practise acupressure yourself at home as part of your face yoga. There are a ton of benefits, such as stimulating blood circulation, releasing muscle tension, and increasing your mental wellbeing.
The exact benefits will depend on which acupressure points you target, as each point has a slightly different effect. I encourage you to dive deeper into acupressure to learn more about the different points and what they do – I have loads of free resources on my blog and my YouTube channel, and I also explore acupressure in my two books and in my teacher training courses.
One of the other great things about acupressure is that it really doesn’t take much time at all. You can do as little as a minute a day and still experience benefits. To show you how, I’m going to run through a quick facial acupressure sequence for a natural facelift.
1-MINUTE FACIAL ACUPRESSURE SEQUENCE
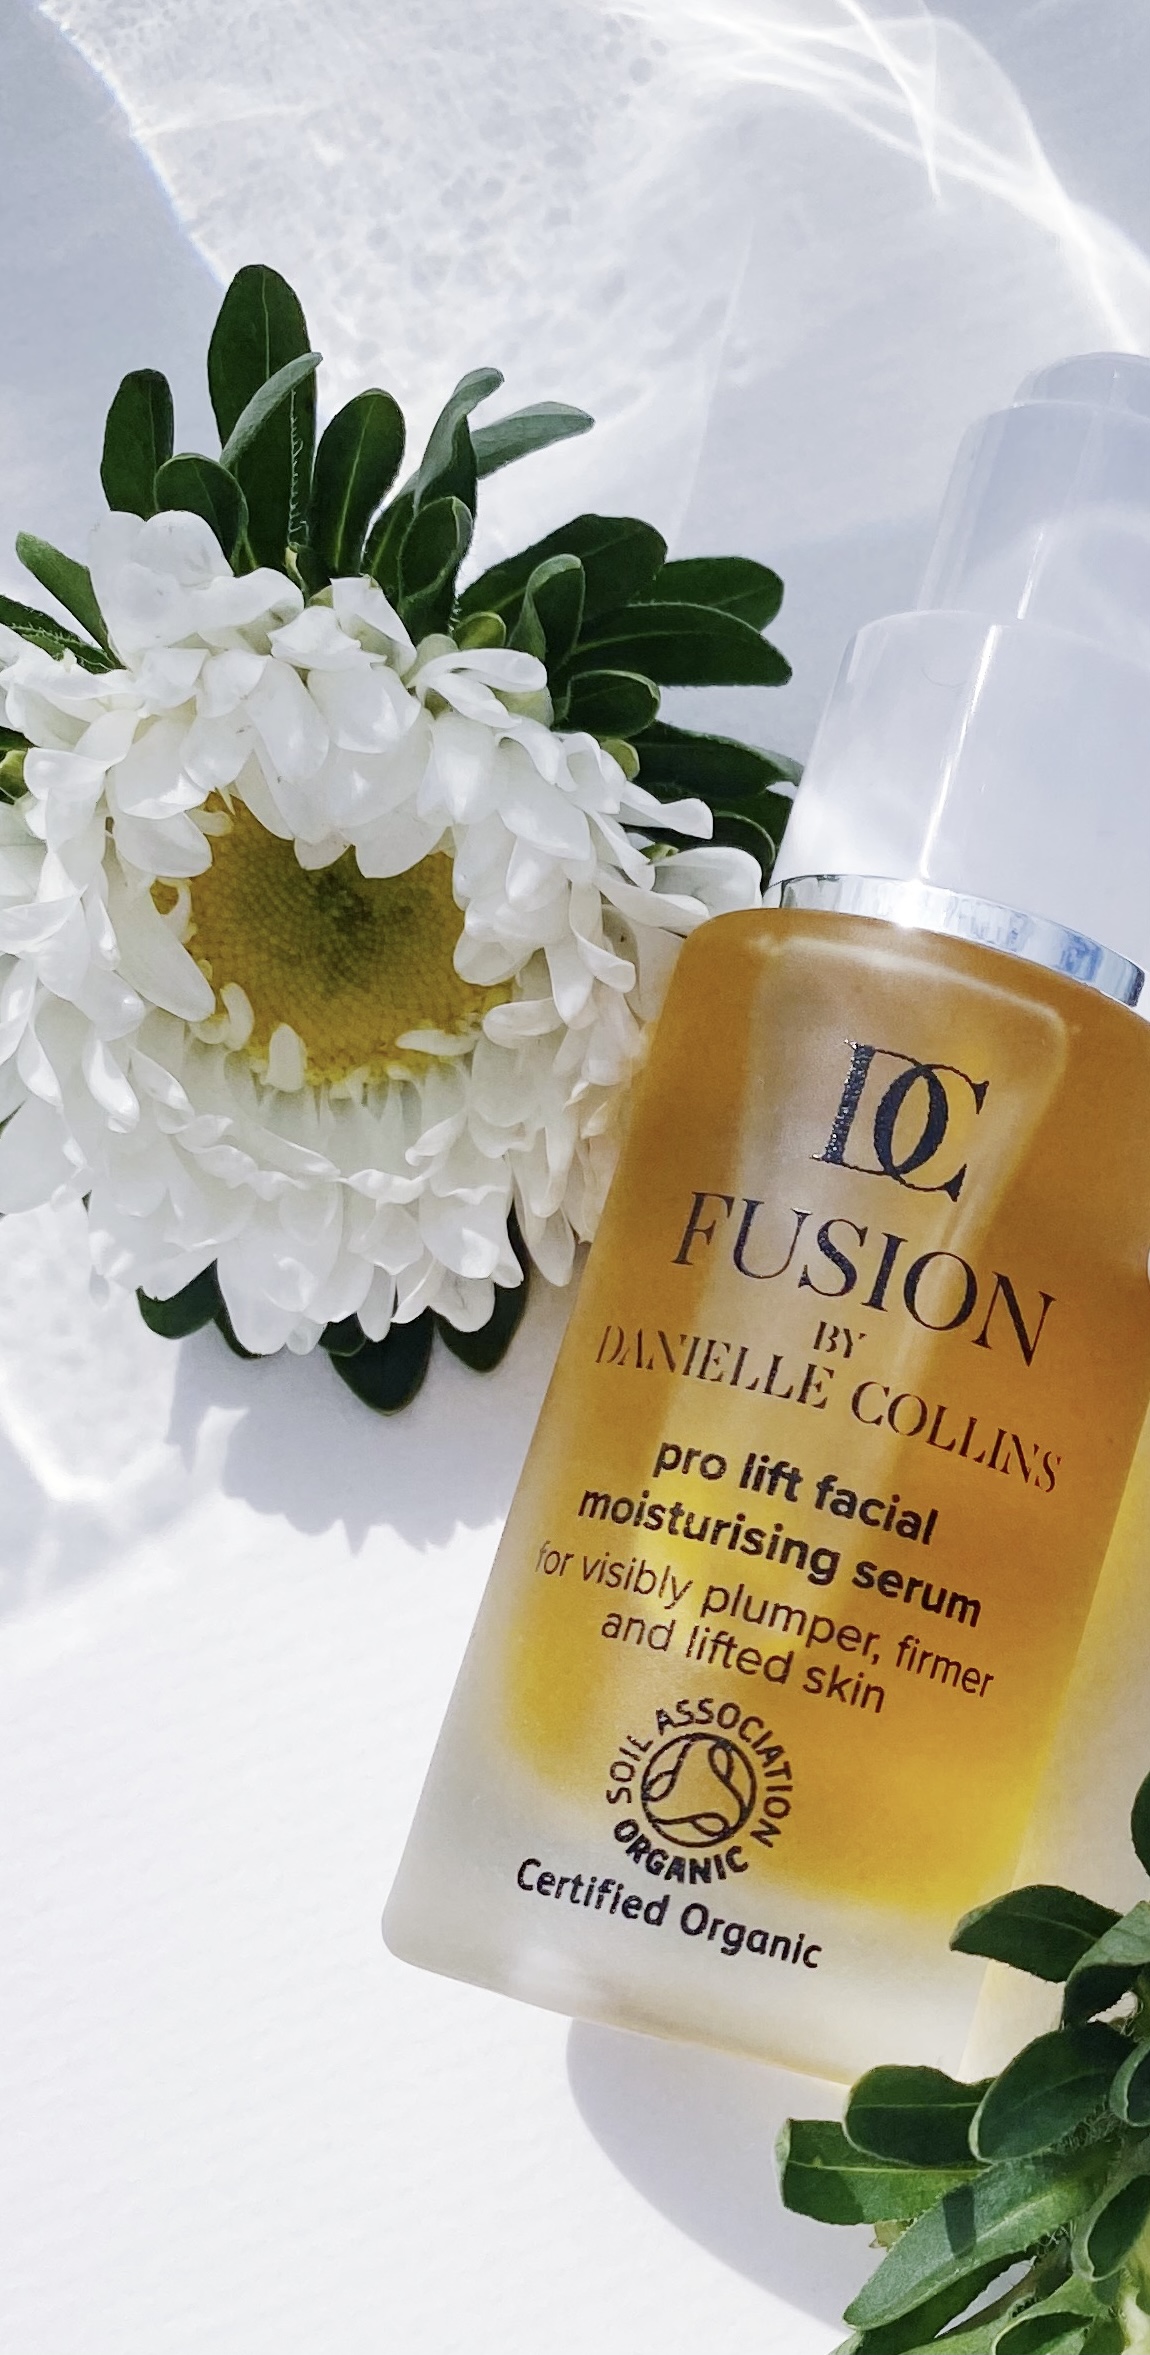
Make sure you have clean hands and a clean face before starting this sequence. I also recommend applying a few drops of my Pro Lift Facial Moisturising Serum to nourish your skin and support your face yoga practice.
This sequence is very quick and very easy. All you need to do is press on each of the acupressure points in turn, using your index fingers. Press for 5-10 seconds on each point. If you have a bit more time, you can also do a little circular massage at each point to increase the benefits of the massage.
So, using the same technique for each, work through the following acupressure points:
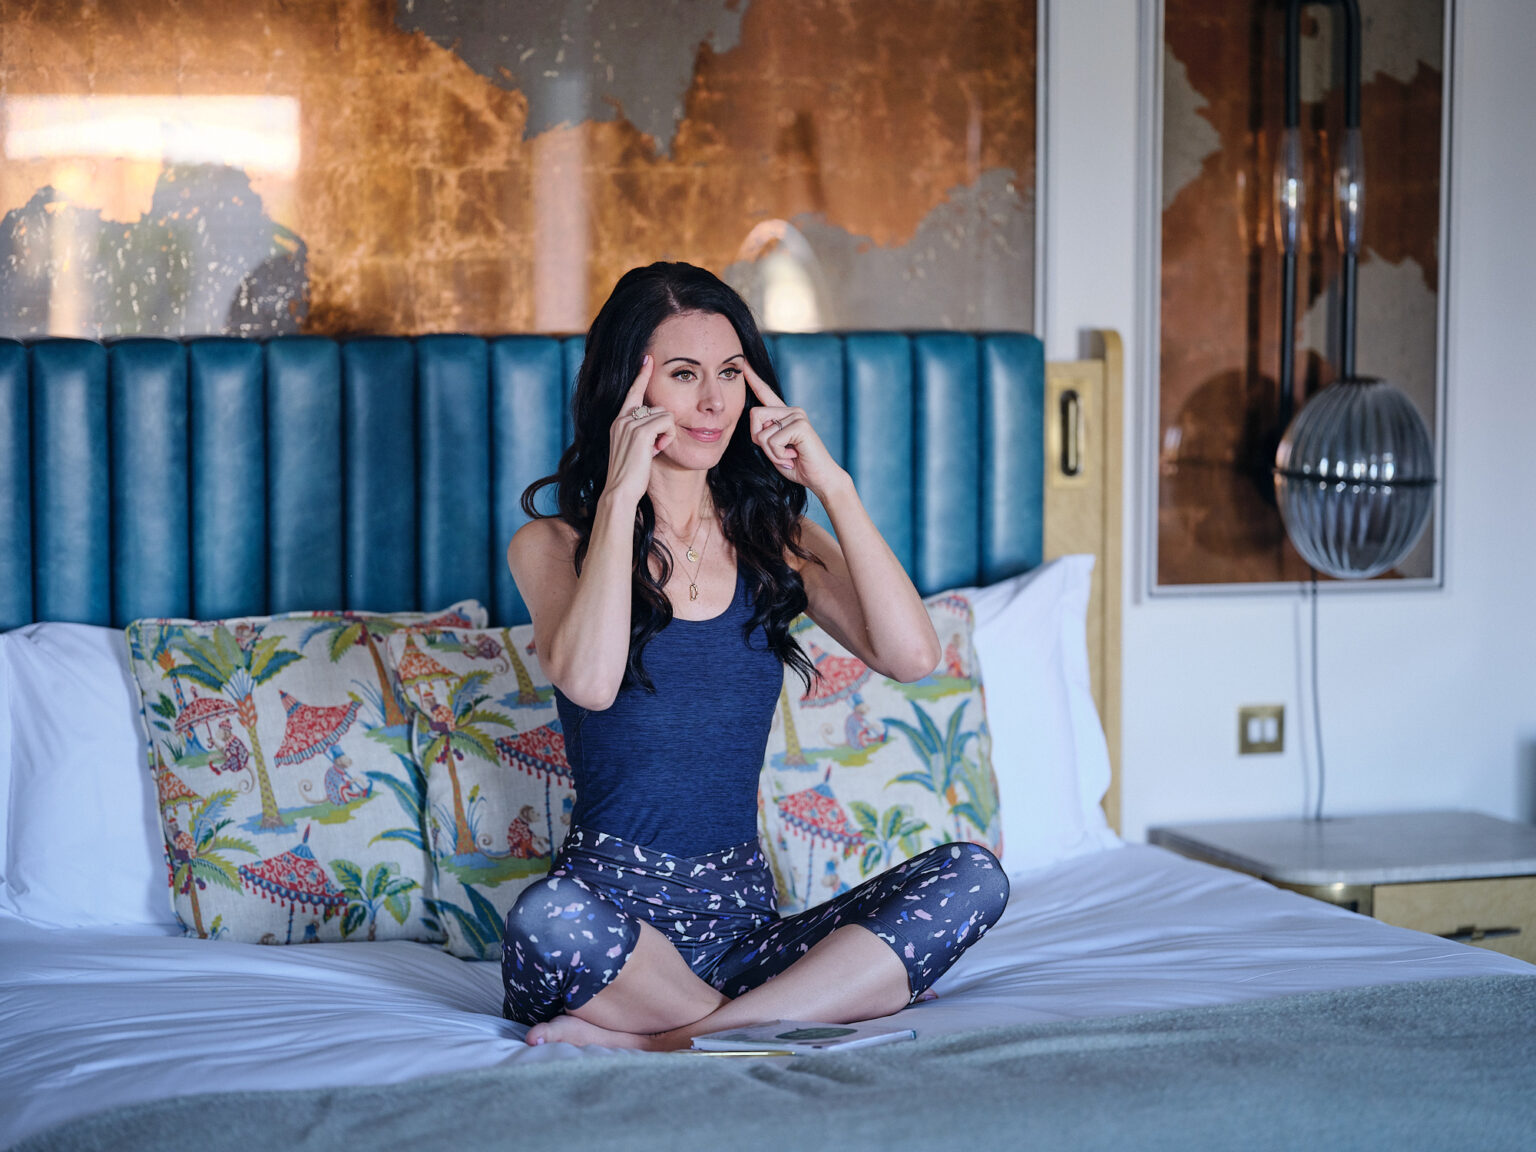
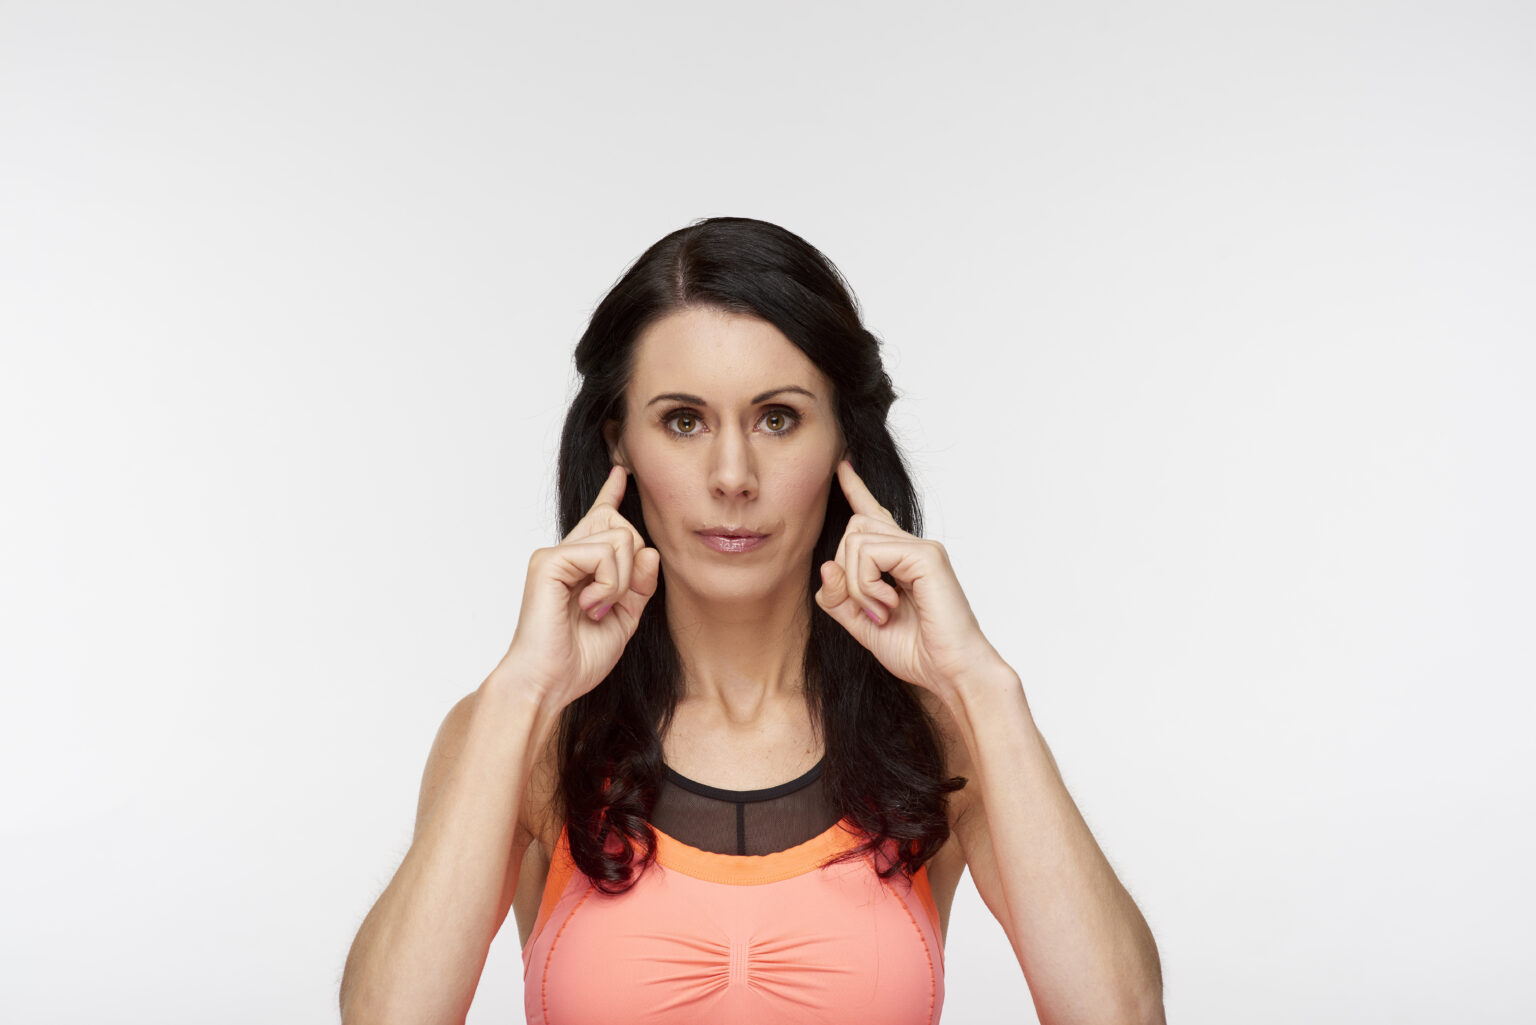
1. TEMPLES
Use both index fingers to press on the little indents you’ll feel at your temples. This acupressure point is known for relieving headaches and boosting your focus and concentration.
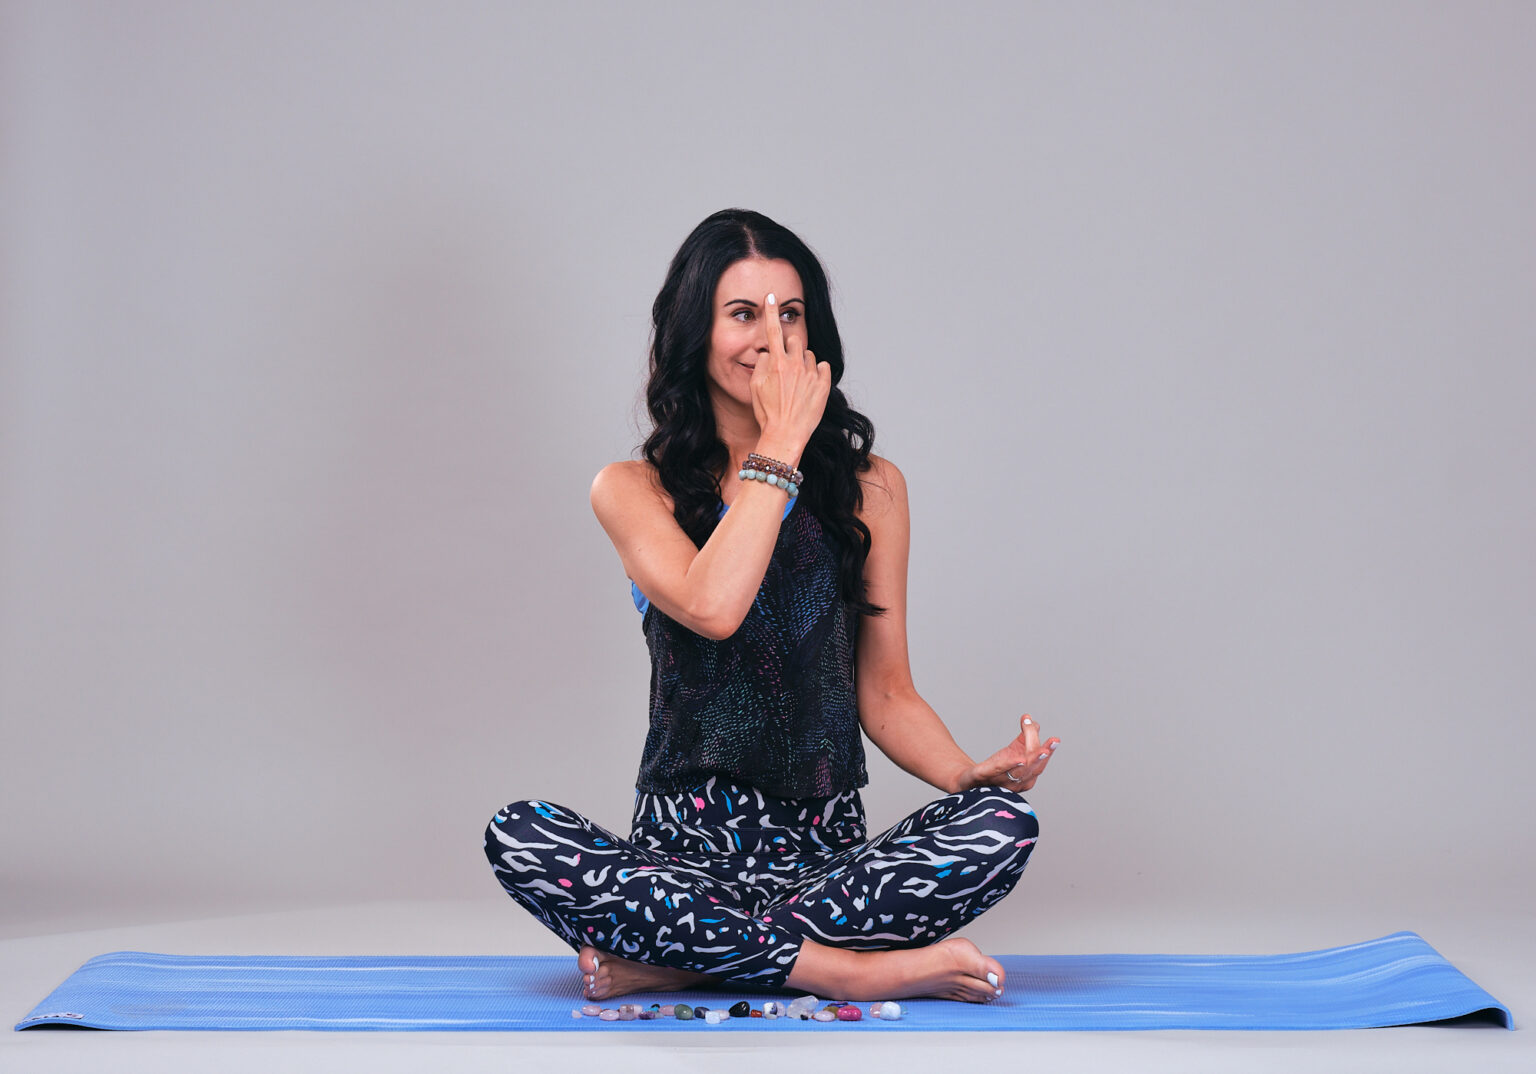
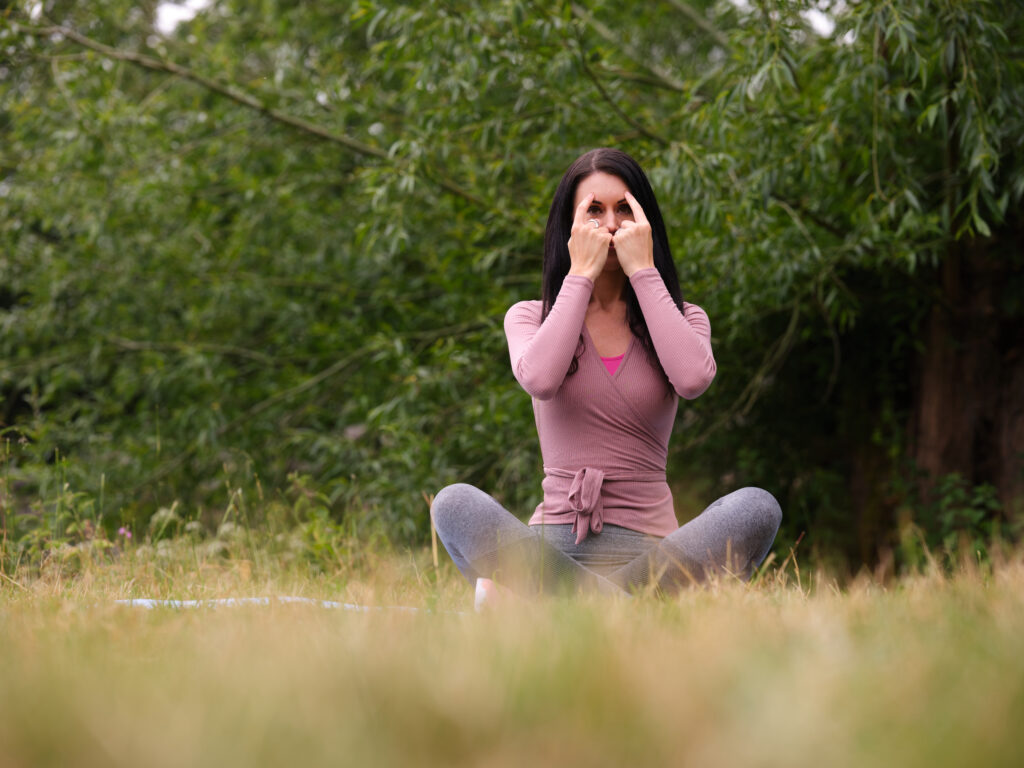
2. THIRD EYE POINT
Next, place one index finger in between your eyebrows – your third eye point. This is one of my favourite acupressure points and one of the best known too.
It helps us feel calm, centred, and attuned to our intuition. It also helps to release tension from the forehead, so can be another good one for headache relief.
3. ABOVE EYEBROWS
Using both hands again, press the points just above the middle of your eyebrows, in line with your pupils. This is a great point for relaxing the forehead and soothing eye strain. Again, this one can also help with headache relief.

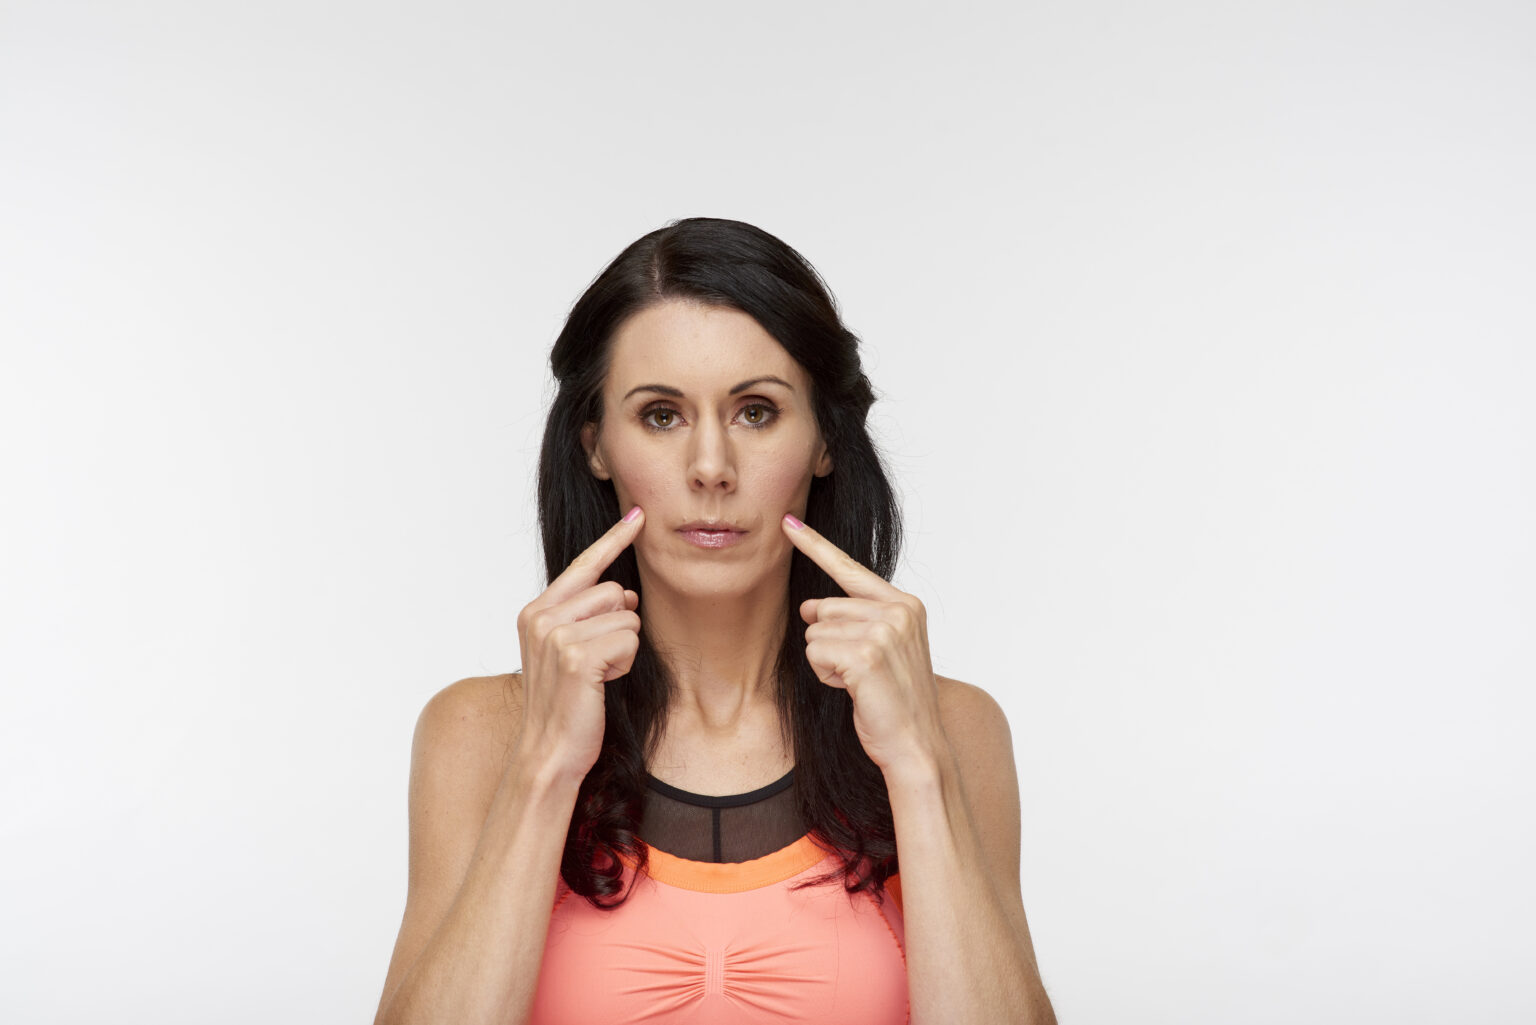
4. UNDERNEATH THE EYES
Moving down the face now, place your fingers beneath your eyes, on your cheekbones. Stimulating this point helps to encourage the flow of blood and energy to the eye area, reducing dark circles and puffiness.

5. CORNERS OF NOSTRILS
This acupressure point is ideal when you have blocked or painful sinuses, congestion, or a runny nose. Use both index fingers to press on the outer corner of your nostrils.
6. APPLE OF YOUR CHEEK
Next, bring your fingers to the centre of your cheeks. To help you find the right place, suck your cheeks in and then place your fingers in the centre of the indent. Release your cheeks again and your fingers should be in the right place!
I love this acupressure point for bringing a lovely natural glow to the cheeks and lower face.
7. BEHIND YOUR EAR LOBES
Place your index fingers behind your earlobes, just by the hinge of your jaw. This acupressure point helps to relieve tension and pain in the jaw area.
This point can often feel a little sore or tender, especially if you are like me and struggle with jaw issues. Remember to always work to your own level and to use a lighter pressure if anything doesn’t feel right.
8. MIDDLE OF YOUR CHIN
Our final point is the one right in the centre of your chin. Use one index finger to press here. Again, this is a great point for relieving jaw tension, and it also helps to bring plenty of fresh blood, oxygen, and energy to the lower face.
ALL DONE!
We’re all finished – like I said at the start, this is a super quick and easy acupressure sequence and should only take a minute to do.
Like all forms of face yoga, acupressure works best when you do it as regularly as you can – ideally daily. Hopefully, this short, quick routine will help you make that a reality, as it is an easy one to do even on your busiest days.
For days when you have a bit more time to concentrate on self-care, take a look at the resources in my shop – there’s everything from online workshops to books to personalised sessions to help you in your face yoga practice.